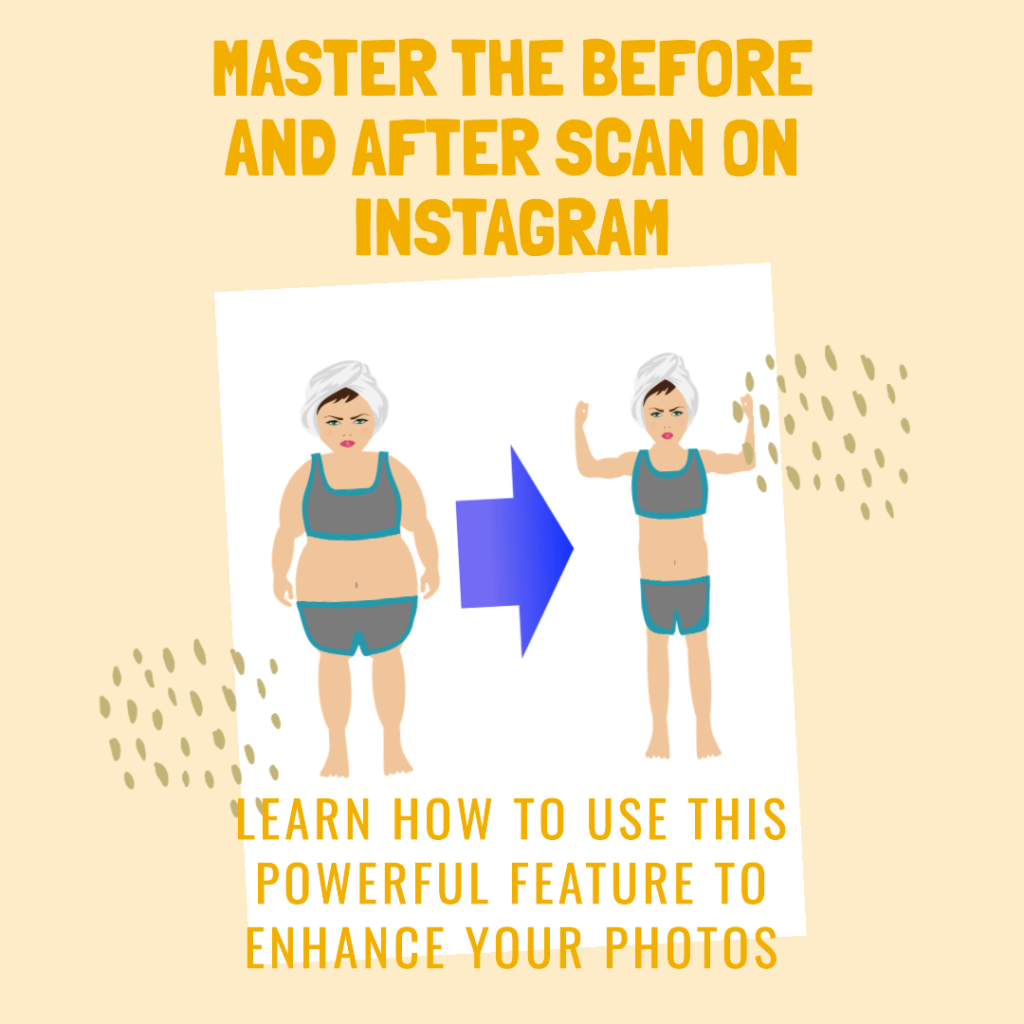
Looking to enhance your Instagram Reels with a dash of creativity? Have you stumbled upon the Before/After Scan filter on Instagram and wondered how to use it? You’re not the only one. Many Instagram users are eager to use this popular filter but aren’t sure how to go about it. No need to fret, we’re here to help! In this article, we’ll guide you through simple steps on how to apply this scan filter on your Instagram Reels. We’ll cover everything from accessing the filter on your mobile, adding media, editing, and saving your Reel. So, whether you’re an iOS or Android user, or a famous celebrity or a regular Instagrammer, this guide is for you. Let’s dive in and upgrade your Instagram game with this fun effect!
How to Use Before and After Scan on Instagram
Step 1: Begin filming a new Instagram Reel
Ready to get started? Open your Instagram app and tap on the camera icon to start filming a new Instagram Reel. Creativity is key here, so think about what you want to showcase in your Reel.
Step 2: Tap on the Effects button on the left-hand side
Next, you’ll want to add some flair to your Reel. To do this, tap on the Effects button on your screen’s left side. This will open up a plethora of effects for you to choose from.
Step 3: Tap on the Search Icon
Now, it’s time to find the Before/After Scan effect. To do this, tap on the Search Icon and type in ‘Before/After Scan’.
Step 4: Search ‘Before/After Scan’
Once you’ve typed in ‘Before/After Scan’, you’ll see a list of related effects. Look for the Before/After Scan filter and select it.
Step 5: Tap on the ‘Add Media’ Button
With the Before/After Scan filter selected, it’s time to add your media. Tap on the ‘Add Media’ Button and choose the photos or videos you want to include in your Reel.
Step 6: Record your Reel
Finally, it’s time to record your Reel. Press and hold the record button to start filming. Release the button when you’re done. Remember, Instagram Reels can be up to 30 seconds long, so make sure your content fits within this timeframe.

In the next section, I’ll share a personal experience of using the Before/After Scan on Instagram. This should give you a better understanding of how to use the effect and the kind of results you can expect.
As an avid Instagram user, I’ve found the Before/After effect to be a fun and creative way to showcase transformations. Whether it’s a home renovation project or a makeup tutorial, this effect adds a dynamic element to my posts that my followers love.
Now that you’ve mastered the Before/After Scan effect, let’s move on to another popular Instagram feature – the Before and After Slider effect. This effect is a fantastic way to showcase transformations and comparisons in a fun and interactive way.
Introduction to the Before and After Slider Effect
Detailed Tutorial on Creating a Before and After Slider
Creating a Before and After Slider is a breeze once you know the steps. First, you’ll need two images for the ‘before’ and the ‘after’. Next, open your Instagram app and tap on the ‘+’ icon to create a new post. Select the ‘Layout’ option from the bottom menu and choose the split-screen layout. Now, simply upload your ‘before’ image on one side and your ‘after’ image on the other. Voila! You’ve created a Before and After Slider.
Here’s a personal experience of mine using the Before and After Slider effect. I recently used the Before/After Slider effect to highlight my progress on my fitness journey. The response was overwhelming – my followers loved seeing the transformation in such a visually compelling way. It was a great reminder of how powerful Instagram can be as a tool for storytelling.
Quick Guide to Using the Before and After Scan on Instagram
If you’re short on time or just want a quick refresher, here’s a quick guide to using the Before and After Scan on Instagram.
Tips and Tricks for a Quick and Easy Process
- Keep your phone steady: The Before/After Scan effect works best when your phone is steady. Consider using a tripod or resting your phone on a flat surface while recording.
- Use good lighting: Like all photos and videos, good lighting can make a big difference in the quality of your Reel.
- Experiment with different subjects: The Before/After Scan can be used for a wide range of subjects, from makeup tutorials to home renovations. Don’t be afraid to get creative!
Now, let’s look at some statistics highlighting the importance of staying on top of Instagram trends. Instagram Reels see the highest reach and engagement among all other media types. Based on a SocialInsider study, Instagram Reels have an average engagement rate of 1.95%. This puts it well ahead of other media types, so your brand could benefit from creating more Reels to attract and engage your target audience.


Troubleshooting
Even with the best of guides, sometimes things don’t go as planned. If you’re having trouble finding the Before/After Scan effect or it’s not working as expected, don’t worry. We’ve got some troubleshooting tips for you.
First, make sure your Instagram app is up to date. Instagram regularly releases updates that include new features and bug fixes. If the Before/After Scan effect is missing, it might be because you’re using an outdated version of the app.
If the effect is not working properly, try closing and reopening the app. Sometimes, a simple restart is all it takes to fix minor glitches.
If you’re still having trouble, consider reaching out to Instagram’s support team. They’re there to help and can guide you through any issues you might be facing.
Now, let’s look at another statistic that underscores the importance of Instagram Reels. Instagram currently boasts 2 billion monthly active users, making it the fourth most used social media platform. If you make use of the latest Instagram trends, you have the potential to exponentially grow your reach.
Conclusion
We’ve covered a lot of ground in this guide, from how to use the Before/After Scan effect to troubleshooting tips. We hope you found this information helpful and feel more confident using this fun and engaging Instagram feature.
Remember, Instagram is all about creativity and self-expression. So don’t be afraid to experiment with different effects and find what works best for you. Whether you’re using the Before/After Scan for a makeup tutorial, a home renovation reveal, or just for fun, the most important thing is that you enjoy the process.
As a final note, I’d like to share another personal experience. I recently used the Before/After Scan effect to highlight my progress on my fitness journey. The response was overwhelming – my followers loved seeing the transformation in such a visually compelling way. It was a great reminder of how powerful Instagram can be as a tool for storytelling.
Lastly, let’s look at a case study that highlights the importance of staying on top of Instagram trends. The 2023 Instagram Trend Report highlights the importance of staying on top of trends like the Before/After Scan effect. The report underscores the importance of understanding your audience and leveraging the latest trends to engage them effectively.
So, what are you waiting for? Get out there and start creating!

Frequently Asked Questions
What is the importance of using filters on Instagram?
Filters are one of the most popular features on Instagram. They help users adjust and enhance their photos’ color, improve the lighting, change the contrast, make a photo black and white and more. Most Instagram users use filters to make their photos look more interesting and engaging.
What are the different types of filters available on Instagram?
Instagram offers many different types of filters such as Vintage, Lark, Clarendon, Gingham, Juno, Valencia, Lofi, Aden, and many more. These filters can enhance your photos’ color, contrast, brightness, and saturation.
How can I properly use filters on Instagram?
When it comes to creating the perfect Instagram feed, filters are an essential tool. To use filters properly, you need to remember your profile’s theme and choose filters that work well together. You can also switch up your filters from time to time to keep your profile looking fresh and entertaining.
What is an Instagram reel, and how can I use filters with it?
An Instagram reel is a short video clip that can be shared with your followers. To use filters with your reel, simply film your video and select a filter that works with the content you’re sharing. Instagram offers many different filters for reels.
Is using filters on Instagram time-consuming?
A: No, using filters on Instagram is very simple and easy. Instagram offers many different filters that you can use with just one tap. Using filters can save you time and money by helping you create beautiful photos without the need for professional equipment or editing software.
Can I use Instagram filters on old photos?
Yes, you can use Instagram filters on old photos. Simply upload your old photo to Instagram and choose a filter that will enhance the color and contrast of your photo.
Can I use Instagram filters on TikTok?
No, Instagram filters are not available on TikTok. TikTok does offer their own set of filters and effects that you can use with your videos.
Can Instagram filters assume the background of my photo?
No, Instagram filters cannot assume the background of your photo. Filters are designed to enhance the color and contrast of your photo, but they cannot change the background. You can use other editing tools to change the background of your photo.
Author Bio
Ellen Bartolino
As a seasoned author and communication expert, Ellen specializes in Instagram with a deep understanding of the platform. Her expertise has enabled her to produce captivating and impactful content for both businesses and individuals.