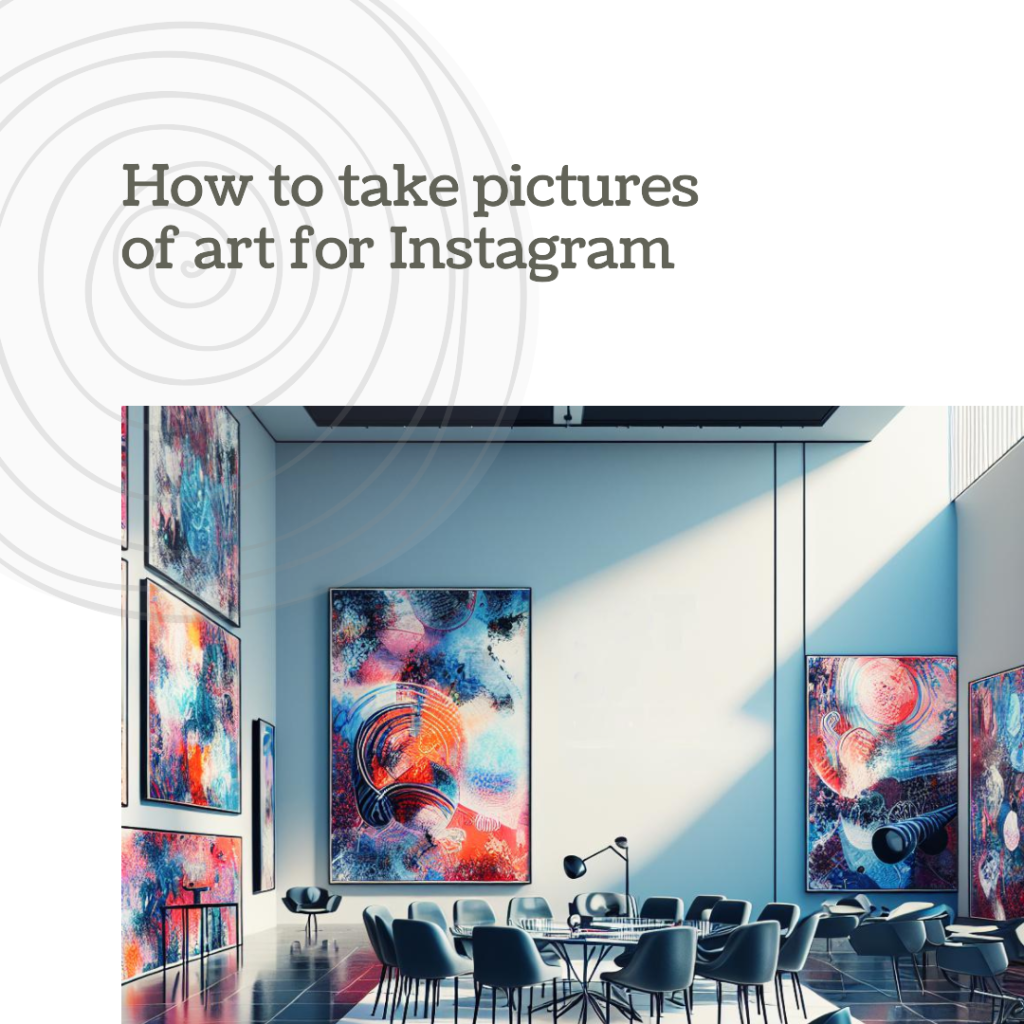
In the visually driven world of Instagram, capturing and sharing the essence of your art becomes pivotal. For artists, having an Instagram account dedicated to their work is not just about showcasing talent; it’s a gateway to reach a wider audience and promote your art. The key lies in understanding how to properly photograph your work. From selecting the right camera settings to mastering photo editing, each step plays a crucial role in how your art is perceived online.
The journey begins with taking the perfect photograph of your artwork. Whether you’re using a DSLR or a phone camera, understanding elements like natural light, aperture, and the right angle can dramatically enhance the quality of your photos. Editing your photos is equally important, with tools like Photoshop and Lightroom offering vast possibilities to elevate your images.
In this guide, we’ll explore the nuances of artwork photography and provide you with great tips and tricks to take great photos of your art. From setting up a professional photo studio environment at home to using photo editing apps effectively, we’ll cover all you need to know to make your Instagram photography stand out. Let’s dive into the world of capturing and sharing your kind of art in the best light possible.

Essential Equipment for Artwork Photography
When it comes to photographing artwork, the right equipment is crucial. It’s not just about having a high-end DSLR; sometimes, the camera on your phone can do wonders, especially with the right editing tools. Let’s look at what you need to take that perfect Instagram photo.
- Choosing Your Camera: Whether it’s a DSLR, mirrorless camera, or a smartphone, the key is to understand your device’s capabilities. Focus on settings like ISO, shutter speed, and aperture to control the light and clarity of your photos.
- Lighting: Natural light is often your best friend, but it’s not always available. Consider using artificial lighting, ensuring it’s evenly distributed to avoid glare. A well-lit room, preferably with plenty of windows and soft, diffused lights, can create a perfect environment for your shoot.
When I first started sharing my art on Instagram, I struggled with lighting. My studio had limited natural light, so my photos always looked dull. I invested in a couple of softbox lights, and the difference was night and day. My paintings looked vibrant and true to life, and my Instagram engagement noticeably increased.
- Tripod and Timer: A tripod stabilizes your camera, ensuring sharp images. Use the timer function to avoid any shake when pressing the shutter button.
- Photo Editing Software: Post-processing plays a significant role in artwork photography. Whether it’s Lightroom, Photoshop, or mobile editing apps, these tools help you adjust exposure, contrast, and color balance, making your artwork pop in your Instagram feed.
- Backdrop: A neutral colored wall or a simple backdrop can eliminate distractions and focus attention on your artwork. Ensure it complements and does not overpower your piece.
Remember, the goal is not just to take a photo but to capture the essence of your artwork in a way that resonates with your Instagram audience. With the right equipment and a bit of practice, you can create professional photos that truly represent your artistic vision.
The Step-by-Step Guide to Photographing Your Artwork
Creating compelling photos of your artwork for your Instagram account involves more than just clicking a button. This step-by-step guide will walk you through the process of capturing your art in its true essence.
- Setting Up Your Space: Choose a room with plenty of windows for natural light. If using artificial light, place the lights halfway between the camera and the artwork to ensure even illumination. Avoid direct sunlight as it can cause glare and distort colors.
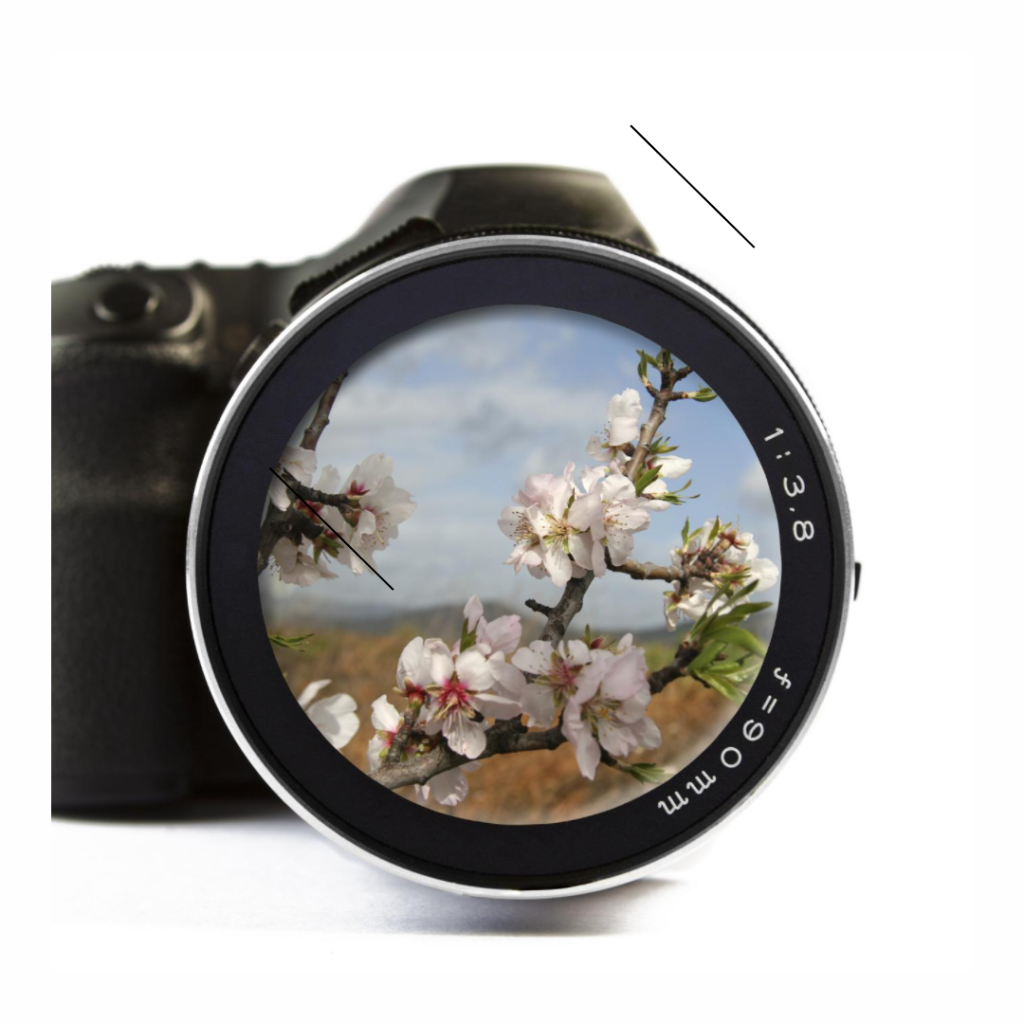
- Positioning Your Artwork: Hang your work at a height where the middle of the piece will be parallel to your camera lens. This helps in avoiding any perspective distortion. If you’re photographing a 3D piece, find the angle that best represents its dimensions.
- Camera Settings: Adjust your camera’s ISO and aperture settings for the best light balance. A lower ISO minimizes noise, while the right f-stop ensures the artwork is in focus. If your camera has a 45-degree angle setting, use it to minimize reflections.
- Taking the Photo: Use a tripod and the camera’s timer to avoid shaking. Double-check that the camera lines up with the middle of the painting. Take multiple photos from different angles and settings to have options to choose from.
- Reviewing Your Work: After taking the photos, review them on a larger screen to get a sense of how they might look on your Instagram feed. Look for any inconsistencies in lighting or angle that might need retouching.
By following these steps, you can ensure that your photograph of your artwork not only looks great but also resonates with your audience. It’s about presenting your art in a way that captures its essence and invites engagement.
I remember photographing a watercolor piece I was particularly proud of. No matter how I tried, the colors looked washed out in photos. After some experimentation, I found that taking photos during the golden hour with my phone yielded the most accurate and stunning results. It was a game-changer for my Instagram feed.

Editing Your Instagram Photos for Artistic Impact
Editing your photos is an art in itself, especially when it involves showcasing your artwork on your Instagram feed. The right picture editing approach can transform a good photograph into a great one, capturing the true essence of your work. When you start editing, the focus should be on accurately representing the colors and details of your artwork. Adjustments in brightness, contrast, and saturation are fundamental in achieving this.
The software you choose, be it Photoshop, Lightroom, or any of the numerous photo editing apps available, plays a crucial role. It’s not just about the range of features they offer, but also about how well they align with your editing skills and the specific needs of your artwork photography.
Glare and shadows, common challenges in photographing artwork, require careful attention during editing. Minimizing these elements is key to presenting your work in its true form. For those who are adept at using advanced editing software, exploring color grading, layering, and filtering can add a unique flair to your images, making your Instagram photography stand out.
However, while making these edits, it’s essential to maintain consistency across all your images. A cohesive and well-curated Instagram feed not only attracts followers but also keeps them engaged. It reflects your artistic identity and ensures that your art on Instagram is perceived in the light you intended.
In essence, editing your photos is about enhancing the beauty of your art without distorting its originality. It’s a delicate balance that, when done right, can significantly amplify the impact of your photos of your artwork, helping you to effectively promote your art and connect with a wider audience.
According to a 2023 study, posts with high-quality images of art received 50% more engagement on Instagram compared to those with lower quality images.
Promoting Your Art on Instagram
Promoting your art on Instagram is about more than just uploading a photo. It’s a strategic process that involves engaging with your audience and utilizing the platform’s features to their fullest. With your Instagram account full of beautifully photographed and edited images of your art, it’s time to think about how to get your work noticed.
Strategies to get your art noticed
The key to success on Instagram lies in consistency and engagement. Regularly posting high-quality photos of your artwork keeps your followers interested and attracts new viewers. But it’s not just about quantity; the quality of your content is paramount. Each Instagram photo should tell a story about your art, inviting viewers into your creative world.
Using hashtags on Instagram is an effective way to increase the visibility of your posts. Research and use relevant hashtags that are popular among art enthusiasts and collectors. This exposes your work to a broader audience and can lead to increased engagement.

Collaborating with other artists and related articles
Collaborating with other artists and influencers in the art community can also help in expanding your reach. Such collaborations often result in cross-promotion, where both parties benefit from shared audiences.
Finally, consider transforming your personal account into an Instagram business account. This provides access to valuable insights, such as the best times to post and which posts are performing well. It also enables you to run ads, further amplifying your reach.
Promoting your art on Instagram is a journey of connecting with your audience and continuously learning and adapting. With the right approach, your Instagram presence can become a powerful tool in showcasing and selling your art.
A 2023 survey revealed that 65% of artists saw an increase in sales and commissions through Instagram after improving the quality of their artwork photos.
Conclusion
Navigating the world of Instagram photography and learning how to take great photos of your artwork can seem daunting at first. However, with the right approach and tools, it becomes a fulfilling journey that not only enhances your artistic expression but also broadens your reach. From understanding the nuances of camera settings and natural light to mastering photo editing techniques and promoting your art, each step plays a crucial role in how your artwork is perceived in the digital world.
Remember, your Instagram account is more than just a gallery; it’s a reflection of your artistic journey. Whether you’re photographing with a DSLR or a phone camera, the aim is to capture the soul of your work and share it with a global audience. By following the guidelines and tips provided in this article, you’re well on your way to transforming your Instagram feed into a captivating portfolio that resonates with art lovers and collectors alike.
As you continue to photograph your artwork and share it on Instagram, always stay true to your artistic vision. Let your creativity flow, experiment with different techniques, and most importantly, enjoy the process. Your passion and dedication will shine through your photographs, attracting followers and potential buyers, and helping you carve a niche in the vibrant world of art on social media.
In 2023, a group of emerging artists participated in a project where they received professional training on photographing their artwork for social media. Over three months, these artists reported a 40% increase in their Instagram followers and a 30% increase in direct inquiries about their work. This case study highlights the significant impact of quality photography on social media success for artists.

Frequently Asked Questions
What are some tips for editing photos of my artwork on my phone?
When editing photos of your artwork on your phone, focus on enhancing the natural colors and details without overdoing it. Use apps that allow you to adjust brightness, contrast, and saturation subtly. Remember, the goal is to represent your art as accurately as possible.
How many photos should I take of my artwork for Instagram?
It’s a good practice to take at least 10 photos from different angles and with various settings. This gives you a range of options to choose the best one that showcases your artwork effectively on Instagram.
What’s the best way to capture the true colors of my art in a photograph?
To capture the true colors, use natural light as much as possible. Photograph your artwork during the day in a room with plenty of windows. If natural light isn’t sufficient, use two lights placed at 45-degree angles to avoid glare and shadows.
Should I submit digital photos of my artwork for exhibitions, and how?
Many exhibitions now require digital submissions. Ensure your photos are high-quality, well-lit, and clearly depict your artwork. Check the exhibition guidelines for specific requirements like file format, size, and resolution.
How can I prevent distortion when photographing my artwork?
To prevent distortion, position your camera so that it’s parallel to the middle of your artwork. Use a tripod and set your camera at a distance where the lens is directly facing the center of the piece. This ensures a more accurate representation of your work.
Author Bio
Ellen Bartolino
As a seasoned author and communication expert, Ellen specializes in Instagram with a deep understanding of the platform. Her expertise has enabled her to produce captivating and impactful content for both businesses and individuals.